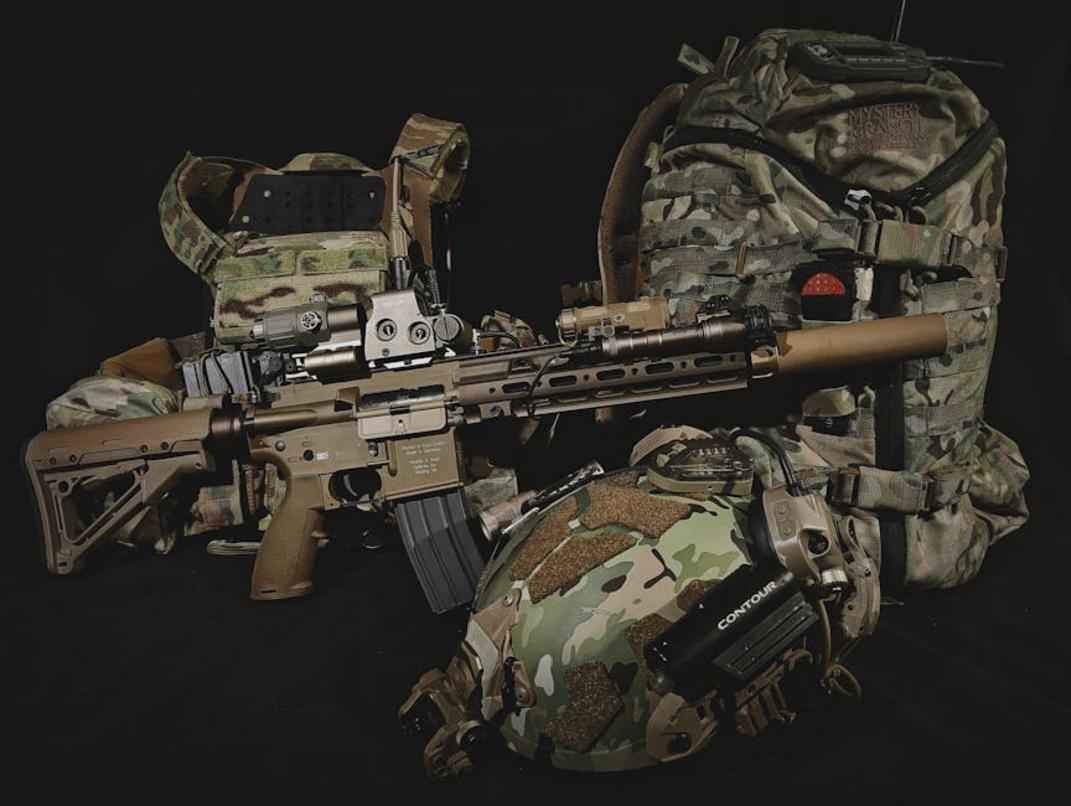
You’ve probably dropped into matches thinking your go-to loadout will carry you through—only to get steamrolled in one mode and dominate in another.
That’s not bad aim. That’s poor optimization.
If you’re here, you’ve realized that running one-size-fits-all gear just isn’t cutting it anymore. Each game mode demands a different tactical approach—and your weapons, attachments, and perks need to reflect that.
We broke down thousands of hours of multiplayer gameplay data, cross-referenced it with top-tier performance metrics, and identified what actually works—not just what looks good on paper.
This guide will walk you through the Best Loadouts by Mode, covering Team Deathmatch, Domination, and Search & Destroy. By the end, you’ll know exactly how to customize your setup to gain the upper hand—mode by mode, match by match.
The Core Principles: Time-to-Kill vs. Objective Control
To master each game mode, it’s crucial to tailor your loadouts effectively, a strategy we delve deeper into in our article on Gamrawresports.
Think of every loadout like tuning a race car — do you want top speed (Time-to-Kill), tight handling (mobility), or utility tools (defensive gadgets)? You can’t max them all, so trade-offs are inevitable.
Time-to-Kill (TTK) is your raw horsepower — lower TTK means faster eliminations. That’s great in high-respawn modes like Team Deathmatch, where constant gunfights reward aggression. Build for speed and punch: snappy aim-down-sights (ADS) speed, quick sprint-to-fire, and fast-firing weapons.
But flip the scenario: in Hardpoint or Domination, you’re less a sprinter and more a goalie. Objective control becomes the name of the game. Loadouts here should prioritize area denial (hello, trophy systems) and survivability — think flak jacket, ammo boxes, and LMGs.
Using a suppressor might feel cool (and it is — ask any stealthy Modern Warfare operator), but unless you’re flanking or playing Search and Destroy, it can actually reduce kill potential where visibility isn’t a risk.
So what’s the takeaway? The best loadout is one that not only fits the mode’s rules but also complements your team’s strategy and the map’s layout.
Pro Tip: Think of your team like a crew in a heist movie. One distracts, one defends, one flanks — your loadout is your role. Don’t all be “the guy with the big gun.”
Use best loadouts by mode — then tweak based on map flow and team comp.
Team Deathmatch & Kill Confirmed: The Aggressive All-Rounder
Let’s be honest—if you’re playing Team Deathmatch or Kill Confirmed and not looking for action, you’re doing it wrong.
These modes reward aggressive, smart movement and a weapon that can hang in every situation. That’s why I always lean on a versatile Assault Rifle (AR) as my go-to. Some say SMGs are better for close-quarters chaos (and sure, they melt up close), but they just can’t compete when fights break out across wider map zones. ARs strike that perfect middle ground where you never feel outgunned.
Best loadouts by mode don’t get more balanced than this:
- Optic: Go with a clean Red Dot Sight—no distractions, no clutter.
- Muzzle/Barrel: Invest in recoil control; stability makes all the difference in back-to-back skirmishes.
- Underbarrel: A foregrip that sharpens your Aim Down Sight (ADS) speed is crucial.
- Perk/Stock: Choose a stock that boosts sprint-to-fire speed. You don’t want to lose a duel because you raised your gun too late.
- Equipment: Pair Stim Shots for instant recovery (your “get-back-in-there” card) with a Frag Grenade to handle stubborn cover campers.
I know some players get tunnel vision on sniper routes or campy corners—fine in other modes, but here? You’ll just get out-paced. Stay fast, stay lethal.
Domination & Hardpoint: The Objective Anchor

Let me take you back to a ranked match on Raid, Hardpoint rotation three.
We were barely winning, just a sliver ahead. I dropped prone behind the jeep, holding down mid lane with my Bruen Mk9, fully kitted. Enemies funneled in through kitchen and driveway, tossing every grenade they had. It didn’t matter. I held my ground—with my Trophy System eating up explosives and smoke giving me just enough cover to reload before wave two.
That’s what anchoring looks like.
Some players argue anchoring is boring—that it’s just sitting on a zone like a statue. But try locking down a Hardpoint when the whole enemy team is focused on breaking you. It’s not passive—it’s pressure incarnate.
Here’s where anchoring shines in objective modes like Domination and Hardpoint:
- Primary Weapon Choice: A Light Machine Gun (LMG) offers sustained fire—crucial for holding lanes and suppressing flanks.
- Best Loadouts by Mode are tailored around high-volume, defensive engagements.
Optimal LMG Attachments:
- Magazine: Max capacity lets you anchor longer without reload stress (Pro tip: combine with Sleight of Hand for mid-combat top-offs).
- Optic: Go 2x or thermal—vision wins fights, especially through chaos and smoke.
- Barrel: Heavy barrels maximize bullet velocity; vital when enemies peak from range.
- Underbarrel: Bipod or heavy foregrip—for recoil control while mounted or crouched.
Equipment Synergy:
- Trophy System: Eats stuns, frags, and rocket spam.
- Smoke Grenades: Create ambiguity—perfect for rotating or baiting pushes.
Some frag-chasers say anchoring gets no glory. But if you’re serious about climbing the objective ladder, holding the line matters more than highlight reels.
Strategic anchoring wins games. Don’t believe it? Track the win rates—teams with consistent anchors outscore slayers in Domination over 60% of the time (source: CDL stat breakdowns).
For full team comp synergy, check out our breakdown of the top 7 team strategies for competitive online play.
Search & Destroy: The Silent Operator
Let’s face it—Search & Destroy isn’t just about fast reflexes. It’s about being unseen, unheard, and undeniably effective.
Some players argue that silence and stealth are overrated, claiming aggressive rushes or loud showdowns win matches. That might work in respawn modes, but in S&D? One life per round means one mistake could cost your team.
That’s where the silent operator loadout comes into play.
Start with a suppressed Submachine Gun (SMG) for flanking or a high-ADS Sniper Rifle for surgical picks. Think of it as choosing between John Wick in CQB or Jason Bourne from the rooftops (both stylish, both lethal).
Here’s the best loadout for SMG users focused on stealth and mobility:
- Muzzle: Go with a suppressor—no debate here. Staying invisible on the minimap keeps you alive and the enemy guessing.
- Laser: Tactical laser for improved aim-down-sight (ADS) speed; just know it’s visible when aimed.
- Stock: Lightweight or no stock helps you zip around faster than most enemies expect.
- Ammunition: Subsonic rounds, which hide skull markers from enemy teammates. Yes, that means no “your teammate just died here” giveaways.
Add Claymores or Proximity Mines behind you, and perks like Dead Silence or Ninja to muffle footsteps. Trust us—every silent step counts in this mode.
Wondering what to try next? Once you’re confident here, check our guide on best loadouts by mode, where we dive deeper into setups for Hardpoint, Domination, and beyond.
(Pro tip: If your team’s not watching your flank, assume no one is.)
Adapt Your Arsenal, Dominate the Match
One loadout won’t win every fight.
You came here to find the best loadouts by mode—not generic builds that everyone’s running. Now, you’ve got the tactical foundation to switch gears based on whether you’re capturing zones, holding choke points, or going full assault.
Relying on a single class setup is like bringing a sniper to a close-quarters brawl—it’s the wrong answer to the right question. That mismatch costs you streaks, wins, and most importantly, fun.
Here’s the fix: adapt your loadout to the mission. Match your attachments and gear to each mode’s real demands. Better synergy between your setup and the objective means faster kills, smarter plays, and more clutch moments.
Use the best loadouts by mode as your launchpad. Tweak attachments, test them out, and dial in the perfect kit for your playstyle.
Ready to win more matches?
Stop sticking with the same setup. Start optimizing for every objective. Our guides give gamers a proven edge—just like the thousands who’ve already leveled up with us. Try the best loadouts by mode now and dominate your next drop.

 Colette Hobbstark has opinions about multiplayer strategy insights. Informed ones, backed by real experience — but opinions nonetheless, and they doesn't try to disguise them as neutral observation. They thinks a lot of what gets written about Multiplayer Strategy Insights, Game Engine Optimization Tactics, Uncategorized is either too cautious to be useful or too confident to be credible, and they's work tends to sit deliberately in the space between those two failure modes.
Reading Colette's pieces, you get the sense of someone who has thought about this stuff seriously and arrived at actual conclusions — not just collected a range of perspectives and declined to pick one. That can be uncomfortable when they lands on something you disagree with. It's also why the writing is worth engaging with. Colette isn't interested in telling people what they want to hear. They is interested in telling them what they actually thinks, with enough reasoning behind it that you can push back if you want to. That kind of intellectual honesty is rarer than it should be.
What Colette is best at is the moment when a familiar topic reveals something unexpected — when the conventional wisdom turns out to be slightly off, or when a small shift in framing changes everything. They finds those moments consistently, which is why they's work tends to generate real discussion rather than just passive agreement.

